

















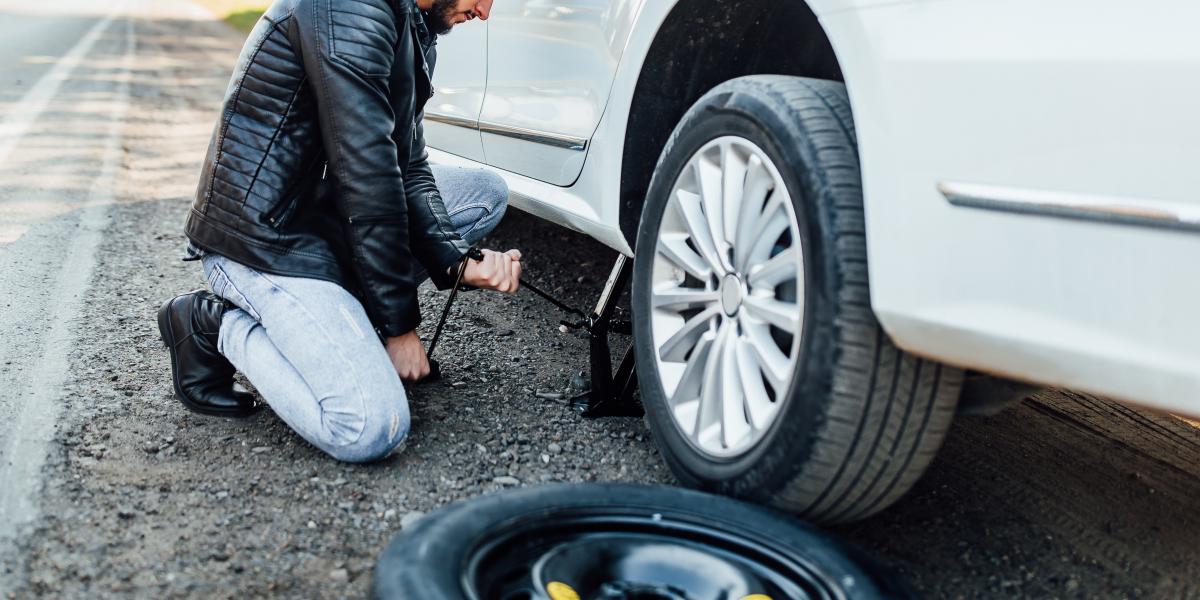
Changing a tire always looks easier when someone else is doing it.
Loosen a few lug nuts, lift the car, pull off the flat, put on the spare, and drive away. Simple enough.
Then one day it happens to you.
Maybe you're heading home from work. Maybe you're halfway through a weekend road trip. The steering suddenly feels wrong, you hear a rhythmic thump, and within seconds you're standing on the shoulder staring at a tire that's going nowhere.
Now the little scissor jack buried beneath the trunk floor doesn't look quite so straightforward.
Knowing how to use a car jack and change a tire is still one of the most useful skills a driver can have. But there's another lesson worth learning at the same time: a spare tire and jack are backup tools. Good tire maintenance starts long before you ever need them.
What Does a Car Jack Actually Do?
A car jack has one fairly narrow job: it lifts part of the vehicle high enough for you to remove and replace a wheel.
It doesn't hold the car safely for mechanical work underneath it, and it isn't something you can position anywhere that looks strong enough.
Most factory emergency kits use a scissor jack. It folds relatively flat, fits beside or beneath a spare tire, and can lift the vehicle by turning a screw mechanism.

A hydraulic floor jack is different. It's larger, faster and usually more stable, which makes it a better choice for a home garage. The tradeoff is obvious: few people want a heavy floor jack taking up trunk space during every commute.

For an emergency tire change, the factory jack is normally sufficient when used exactly where and how the vehicle manufacturer specifies.
That last part matters.
Where Do You Put a Jack Under a Car?
One of the most common mistakes isn't operating the jack incorrectly. It's putting it in the wrong place.
Cars have designated jacking points, which are reinforced areas designed to carry the vehicle's weight while it is being lifted. Their exact location varies by model.
They may look like:
· reinforced pinch welds beneath the rocker panels;
· notched sections of the vehicle frame;
· clearly marked lifting points.
Don't choose a location simply because a piece of metal looks sturdy.
Plastic underbody panels, thin sheet metal and components that were never designed to support the vehicle can be damaged if a jack is placed underneath them.
AAA specifically recommends consulting the owner's manual for the correct jack locations and instructions for your vehicle. Its tire-changing guidance also notes that jack points are usually located beneath each side of the vehicle and should support the actual structure rather than trim or bodywork.
If you're buying a used vehicle, this is something worth checking before your first long trip. Find the jack. Find the lug wrench. Find the jacking points in the manual.
You don't want your first introduction to any of them to happen at night on the side of an interstate.
How to Use a Car Jack and Change a Flat Tire
The mechanical part isn't particularly complicated. The environment is what often makes a roadside tire change difficult.
AAA's current tire-changing guidance puts safety ahead of everything else: get away from moving traffic if possible and look for firm, level ground before beginning. (Source)
1. Get the Car Somewhere Safe
Don't immediately stop exactly where the tire loses pressure if doing so leaves you dangerously exposed to traffic.
Slow down smoothly, turn on your hazard lights and move as far away from traffic as reasonably possible. Avoid sudden braking or aggressive steering.
A parking lot, side street or wide, level shoulder is preferable to working inches away from highway traffic.
Once stopped:
· put an automatic transmission in Park;
· engage the parking brake;
· switch on your hazard lights;
· have passengers wait somewhere safely away from traffic.
If the ground is steep, soft or unstable, changing the tire yourself may not be the safest option.
2. Get the Spare Tire and Tools Out

A typical factory kit may contain:
· spare tire;
· car jack;
· lug wrench.
A few additional items are worth carrying:
· flashlight;
· gloves;
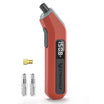
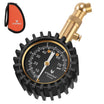
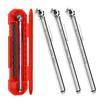
· tire-pressure gauge;
· wheel chocks;
· portable tire inflator.
AAA also lists a flashlight, gloves, pressure gauge, portable inflator and even a small board for supporting a jack on softer ground among useful tire-change equipment.
Before doing anything else, check the spare.
A spare tire that hasn't been inspected for years may itself be underinflated.
3. Loosen the Lug Nuts Before Lifting the Car

This is a small detail that first-time tire changers often get backward.
Loosen the lug nuts while the tire is still on the ground.
Don't remove them yet.
Breaking a tight lug nut loose requires force. If you wait until the wheel is suspended on a jack, that force can make the vehicle less stable.
4. Find the Correct Jack Point
Now check the owner's manual.
Position the jack directly beneath the manufacturer-designated jacking point closest to the damaged tire.
Make sure:
· the jack sits squarely;
· the base is on firm ground;
· nothing is leaning or shifting.
Then slowly begin lifting.
Stop occasionally and check that the jack hasn't moved.
And one rule shouldn't be negotiable:
Never put any part of your body underneath a vehicle supported only by an emergency jack.
Please note that getting underneath the vehicle while it is raised because a jack can fail or shift.
5. Raise the Flat Tire Off the Ground
You don't need to send the car into the air.
Lift it only far enough to remove the damaged tire and fit the inflated spare. Remember that the replacement tire may sit slightly higher than a completely flat tire, so you need enough clearance.
6. Remove the Flat Tire
Finish removing the loosened lug nuts and place them somewhere they cannot roll away.
Grip the tire firmly and pull it straight toward you.
Wheels can be heavier than they look, particularly on SUVs and pickups, so don't assume it will simply slide off with one hand.
7. Install the Spare Tire
Align the spare with the wheel studs and push it into position.
Install the lug nuts by hand first.
Finger-starting them reduces the chance of cross-threading.
Don't fully tighten them while the vehicle is still high on the jack.
8. Lower the Vehicle and Tighten the Lug Nuts
Lower the vehicle until the tire touches the ground and cannot rotate freely.
Then tighten the lug nuts progressively in a star or crisscross pattern rather than moving around the wheel in a circle. AAA recommends this sequence to help the wheel seat evenly.
Follow the manufacturer's specified wheel-nut torque as soon as practical; a torque wrench is the proper way to verify final tightening.
Then lower the vehicle completely and remove the jack.
Is Changing a Flat Tire Actually Easy?
Mechanically?
For many vehicles, yes.
Realistically?
Not always.
A tire change that feels straightforward in your driveway can become an entirely different job when you're dealing with:
· rain;
· snow;
· darkness;
· uneven ground;
· seized lug nuts;
· a heavy wheel;
· fast-moving traffic a few feet away.
Normally, it can take anywhere from about 15 minutes to an hour, depending on the driver, tools, and vehicle.
And there are situations where doing it yourself isn't worth the risk.
If the vehicle is dangerously close to traffic, the ground won't support the jack, you can't loosen the wheel nuts, or you simply aren't confident the car can be raised safely, roadside assistance is the better choice.
Knowing how to change a tire doesn't mean you have to prove it every time.
Remember: A Spare Tire Is Usually Temporary
Putting the spare on doesn't necessarily mean the problem is solved.
Many modern vehicles use a compact temporary spare, often called a donut.
Its purpose is to get you away from the roadside and to a location where the damaged tire can be professionally repaired or replaced.
AAA notes that many temporary spares are designed for short distances and restricted speeds; the familiar guidance for many donut spares is around 50 mph and roughly 50 miles, although the exact limits for your spare must come from the vehicle or tire manufacturer. (Source)
We covered that question in more detail in our guide How Long Can You Drive on a Spare Tire? A Practical Guide
And don't forget something surprisingly easy to overlook:
The spare needs air too.
NHTSA recommends checking all tires, including the spare, at least monthly when they're cold. (Source)
Does Carrying a Spare Tire and Jack Hurt Fuel Economy?
Technically, yes.
Practically, the effect from a single spare-tire kit is usually small.
A spare wheel, jack and wrench add weight. Physics doesn't give that weight a free ride; the vehicle needs energy to accelerate and move it.
The U.S. Department of Energy estimates that an additional 100 pounds of vehicle weight can reduce fuel economy by around 1%, with the effect generally greater in smaller vehicles. (Source)
That does not mean removing a 30- or 40-pound spare-tire setup will suddenly transform your MPG.
The effect of one spare alone is modest.
Automakers, however, chase efficiency across hundreds of individual design decisions. Weight, cargo space, packaging and manufacturing cost all matter. That helps explain why some newer cars no longer include conventional spare tires at all.
Electric vehicles take that trend even further because battery packaging and vehicle efficiency create additional pressure to save space and weight.
We've explored that change separately in Why Don't Electric Cars Have Spare Tires?
The important takeaway isn't “throw your spare tire away.”
If your vehicle came with one, it remains a very useful emergency backup.
A Spare Tire Solves a Problem After It Happens
This is where spare tires and tire maintenance serve completely different purposes.
A spare can rescue you after a tire has already become unusable.
It doesn't prevent the failure.
And a tire inflator isn't a replacement for every spare tire either.
If a tire has:
· major sidewall damage;
· severe structural failure;
· a large tear;
· catastrophic tread separation;
pumping more air into it won't solve anything.
Likewise, some punctures can be repaired while others cannot.
Our earlier article Can a Tire Inflator Fix a Flat Tire? explains where inflation ends and actual puncture repair begins.
The better strategy is having different tools for different stages of the problem:
Tire inflator → routine pressure maintenance and some slow leaks
Tire repair kit → certain repairable tread punctures
Spare tire → temporary replacement after more serious tire failure
Roadside assistance → conditions that cannot be handled safely where the vehicle stopped
They're not competitors.
They're layers of preparation.
Good Tire Maintenance Starts Before the Flat
There is no way to prevent every flat tire.
A sharp piece of road debris doesn't care how carefully you maintained your car.
But some tire failures are associated with conditions drivers can manage—especially underinflation.
NHTSA states that underinflation is a leading cause of tire failure and explains that improperly inflated tires affect safety, durability and fuel consumption. Its tire guidance also warns that sustained heat contributes to tire deterioration, blowouts and tread separation. (Source)
Underinflation allows the tire to flex more than intended.
More flex means more heat.
And excessive heat is bad news for a tire already traveling at highway speed.
That is why correct tire pressure isn't simply about squeezing another fraction of a mile out of a gallon of fuel.
It is basic tire protection.
How Often Should You Check Tire Pressure?
NHTSA's recommendation is refreshingly simple:
At least once a month.
It also recommends inspecting and checking tires before long road trips. Pressure should be measured while the tires are cold, meaning the vehicle hasn't been driven for at least about three hours.
Don't use the maximum pressure molded into the tire sidewall as your target.
The correct pressure for the vehicle is normally found on:
· the driver's doorjamb Tire and Loading Information label;
· the owner's manual.
And don't assume the tire is properly inflated because it looks fine.
NHTSA still recommends using an actual pressure gauge even on vehicles equipped with TPMS, since the warning system is designed to alert drivers once a tire is already significantly underinflated.
If you've ever noticed the PSI changing immediately after filling a tire, we've also explained why temperature and pressure stabilization affect those readings in Tire Inflator Troubleshooting: Why PSI Changes After Inflation
A Portable Tire Inflator Makes Preventive Maintenance Easier

The advantage of owning a portable tire inflator isn't that it makes your spare tire unnecessary.
It's that checking a low tire no longer becomes an errand.
You don't have to notice a tire is several PSI low, drive to a gas station and hope the public air pump is working.
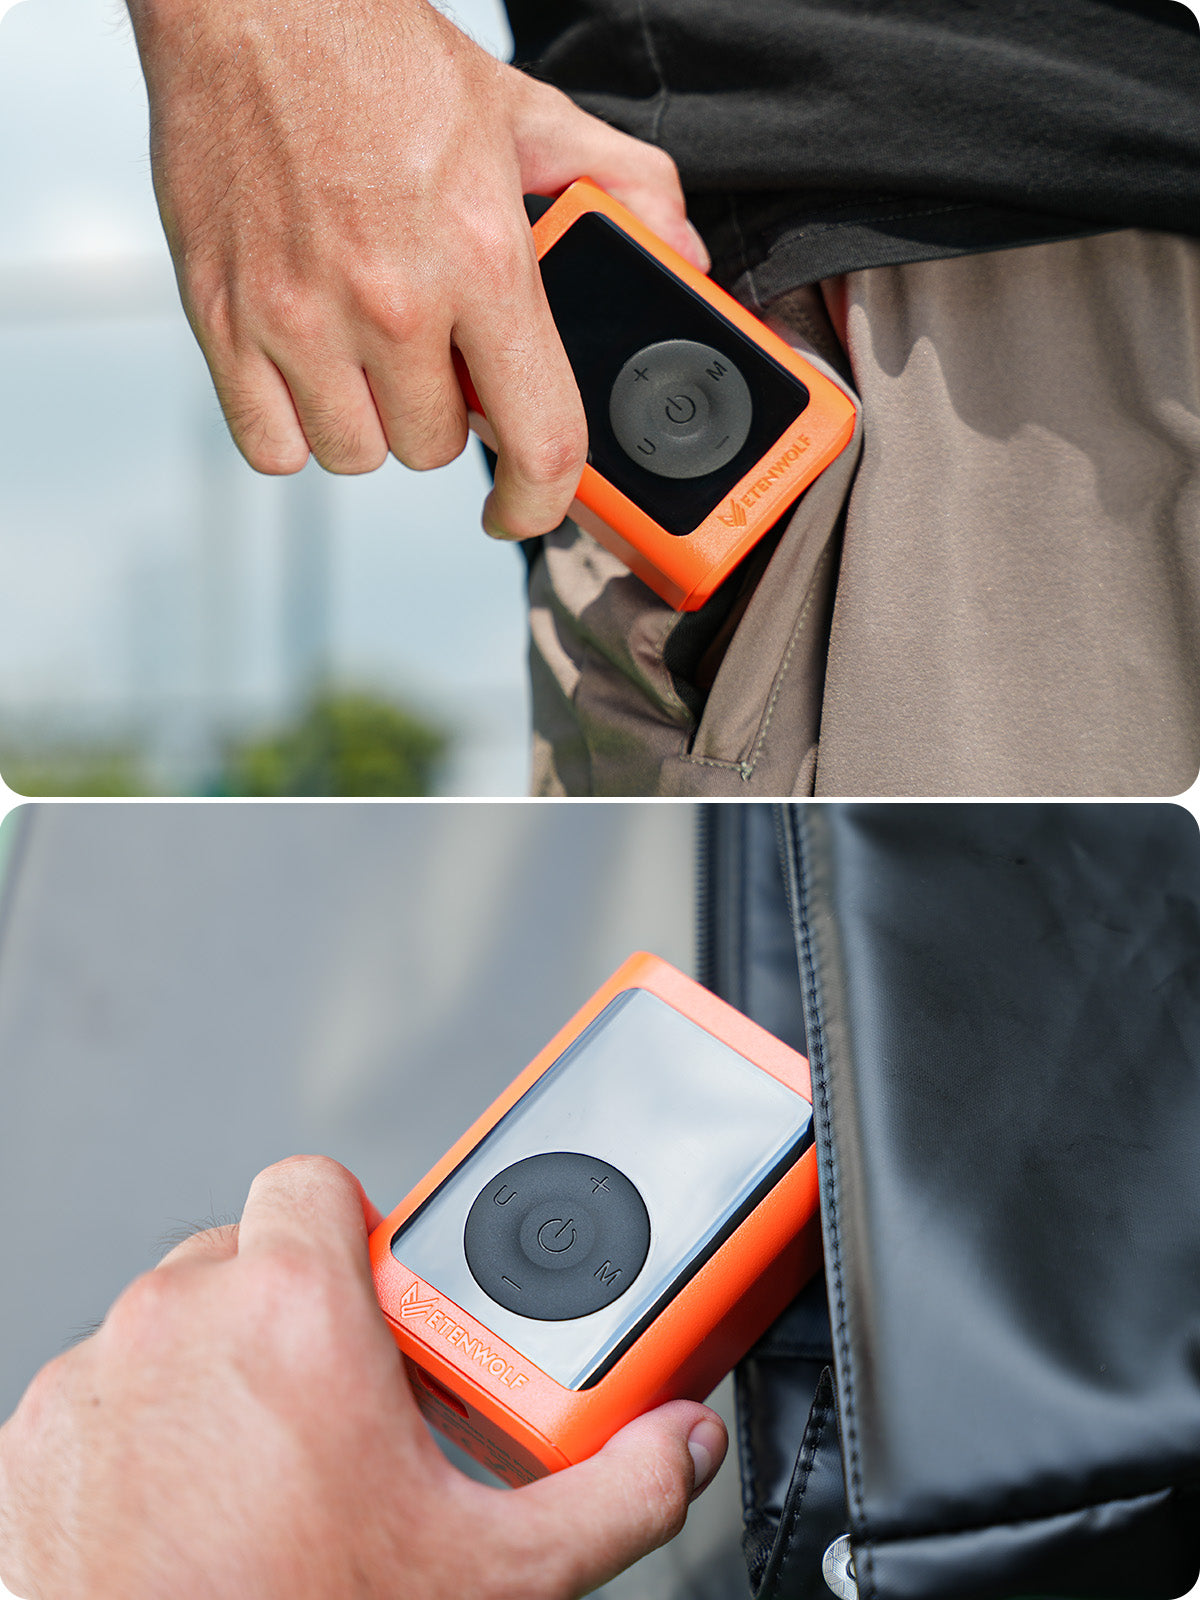
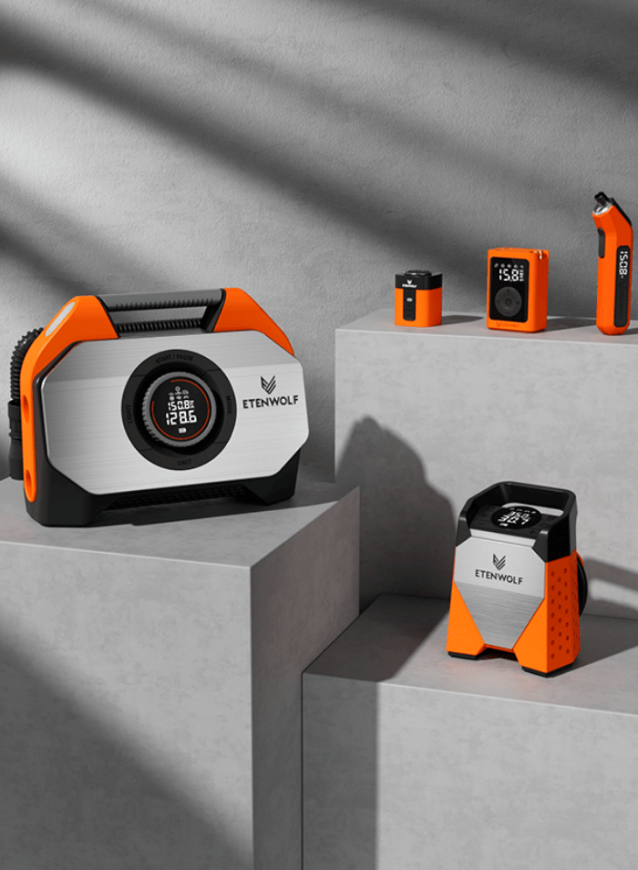
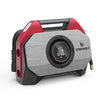
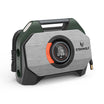
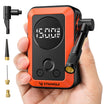
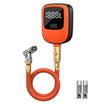
For an everyday driver, a compact cordless inflator such as the ETENWOLF S1 Portable Tire Inflator is designed around exactly this kind of routine maintenance.
The S1 provides up to 160 PSI, a 20 L/min airflow rate, a built-in 5,200mAh battery, digital pressure monitoring and automatic shutoff once the selected pressure is reached. Its compact format also means it can stay in the vehicle alongside the jack, pressure gauge or emergency kit rather than living on a shelf in the garage.
The point isn't to inflate tires every morning.
It's to make maintaining the correct pressure simple enough that you actually do it.

Drivers with much larger truck, RV or off-road tires have different airflow requirements; we discuss those differences in Air Compressor vs Tire Inflator: Which One Is Better for Your Car?
Final Thoughts: The Best Tire Change Is the One You Never Need to Make
Every driver should know where the jack is.
You should know where the manufacturer says to place it.
You should know whether your car actually has a spare tire—and whether that spare still has enough pressure to be useful.
Learning those skills isn't pessimistic. It's preparation.
But roadside tire changing should still be Plan B.
The easier plan is checking your tires before they reach the point where a small maintenance issue turns into a larger roadside problem.
Check tire pressure at least monthly and before long trips. Inspect the tread and sidewalls. Pay attention to slow pressure loss instead of repeatedly topping the tire off without finding the cause. Keep the spare inflated if your vehicle has one.
And carry the tools that make sense for the way you travel.
A jack is there for the day something has already gone wrong.
Good tire maintenance is what you do on all the other days to make that moment less likely.
FAQs
Where should I put a jack under my car?
Use only the manufacturer-designated jacking points listed in the vehicle owner's manual. These are reinforced areas designed to support the car while it is being lifted. Never assume that any visible piece of metal underneath the vehicle is safe for jack placement.
Should I loosen the lug nuts before jacking up the car?
Yes. Loosen them slightly while the tire is still resting on the ground. The vehicle's weight keeps the wheel stable while you break the nuts loose. Do not completely remove them until the vehicle has been raised.
Can I change a flat tire myself?
Many drivers can change a tire themselves if they have the correct tools, understand the process and can move the vehicle to a firm, level location away from traffic. If the roadside environment is unsafe or the jack cannot be positioned securely, call roadside assistance instead.
Can I crawl underneath a car while it is on the factory jack?
No. An emergency jack is intended for lifting the vehicle for a wheel change, not for supporting a person working underneath it. Never place any part of your body under a vehicle supported only by a jack.
How long can I drive on a donut spare tire?
Many temporary spares carry limits around 50 mph and short-distance operation, but specifications differ. Follow the speed, distance and pressure restrictions printed on the spare or provided in your owner's manual.
Does carrying a spare tire reduce gas mileage?
Additional vehicle weight requires more energy to move. DOE estimates that an extra 100 pounds can reduce fuel economy by around 1%. A single spare-tire kit normally weighs much less than that, so its individual MPG effect is relatively small.
Can low tire pressure cause a blowout?
Underinflation increases tire flex and heat buildup, which can contribute to tire deterioration and failure. It is not the only cause of blowouts, but maintaining the manufacturer-recommended pressure helps remove one preventable source of tire stress.
How often should I check my tire pressure?
NHTSA recommends checking tire pressure at least once a month and before long trips, including the spare tire if your vehicle has one. Pressure should be checked when the tires are cold.
Can a portable tire inflator replace a spare tire?
Not completely. A tire inflator can restore pressure but cannot repair severe sidewall damage, major punctures or structural tire failure. A spare tire, repair kit and inflator solve different types of problems.
Should I carry both a spare tire and a tire inflator?
If your vehicle has room, the two complement each other well. An inflator handles routine pressure maintenance and some slow-loss situations, while the spare provides a backup when the damaged tire can no longer safely hold air.



Leave a comment
All comments are moderated before being published.
This site is protected by hCaptcha and the hCaptcha Privacy Policy and Terms of Service apply.